Printing koozies at home can indeed be a fun and creative DIY project! While most koozies are printed commercially – be it through screen printing or heat transfer – they are not that difficult to recreate at home. In fact, at the barest minimum, all you need is a blank koozie and a little heat transfer vinyl!
That said, if you want to do a thorough job of customizing your koozies, here are some essential supplies you will need.
Materials You’ll Need for Your DIY Koozie
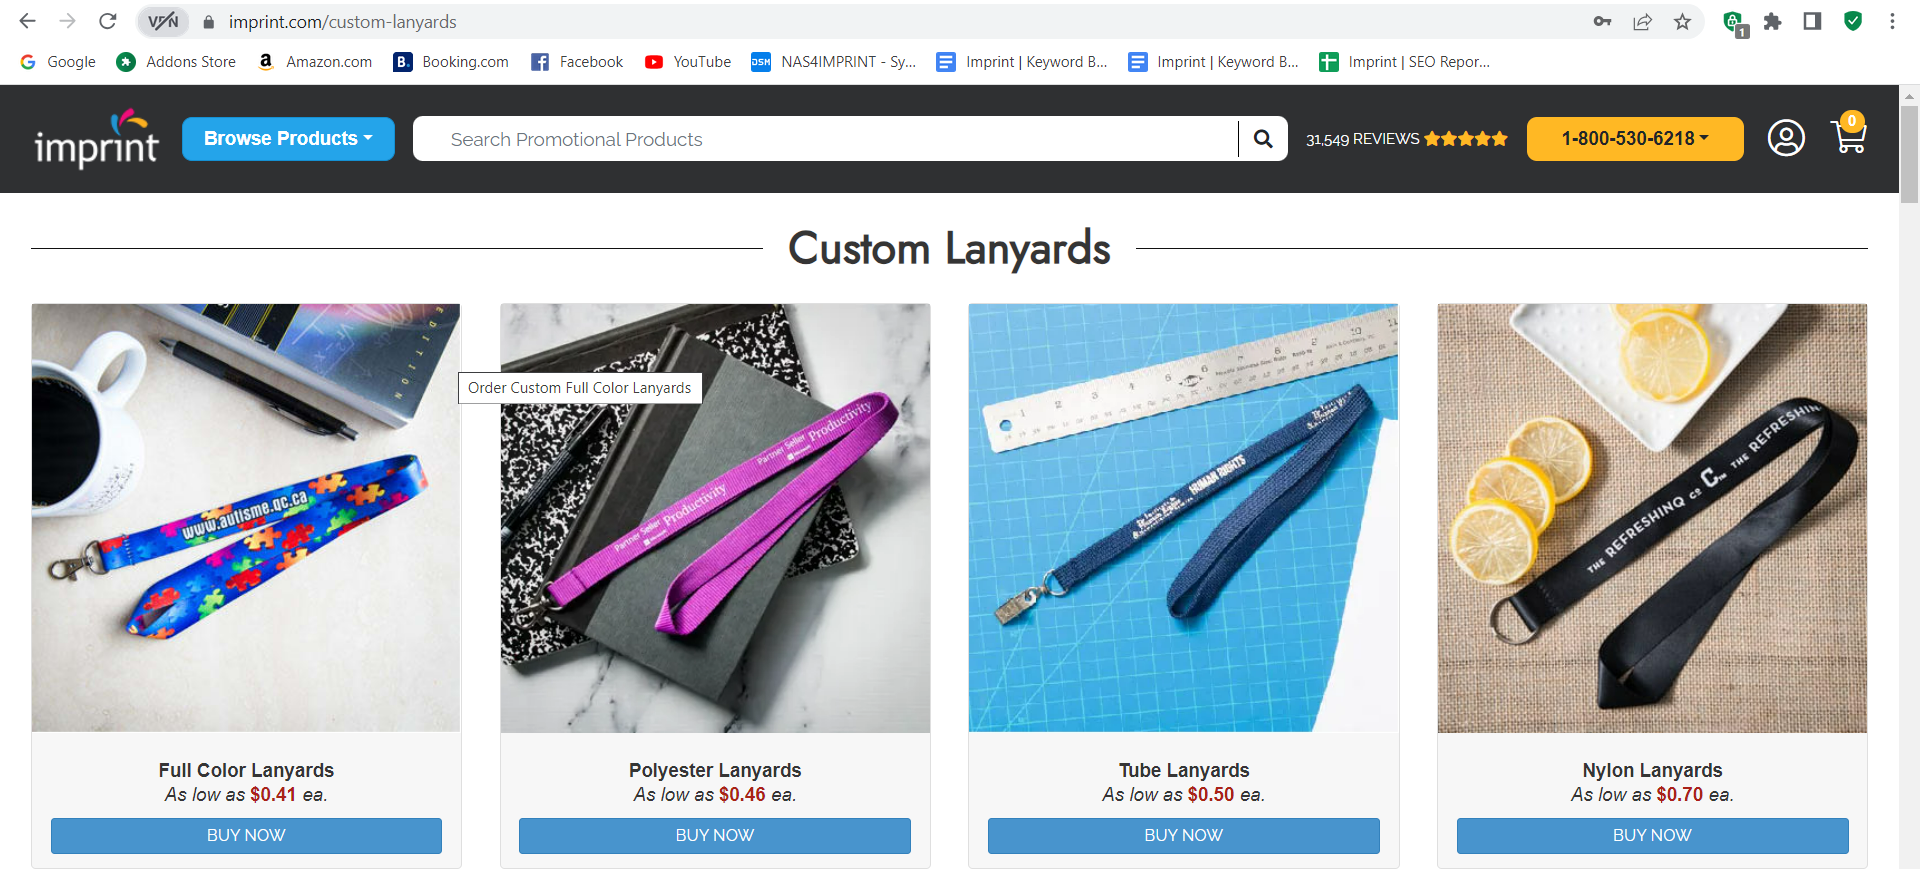
- Blank Koozies: Purchase blank koozies in the color and style you prefer. You can find these at craft stores, online marketplaces or local suppliers.
- Fabric Paint or Ink: Remember to choose fabric paint or ink suitable for your koozie material. Look for paints or inks that are designed to adhere well to neoprene or foam.
- Paintbrushes or Stamps: Depending on your chosen design, you’ll need paintbrushes or stamps to apply the paint to the koozies.
- Stencil (Optional): If you’re not confident in your freehand painting skills, you can also use stencils to create precise designs.
- Protective Surface: Lay down newspaper or a plastic sheet to protect your work area from paint spills.
- Masking Tape (Optional): Use masking tape to create clean edges or mask off areas you don’t want to paint.
- Heat Gun or Iron: To set the paint or ink, you’ll need a heat gun or an iron. Follow the instructions on your paint or ink to determine the appropriate method and temperature.
Steps to Printing Your Koozies
Now you’re ready for the printing process! Here’s how to begin:
Prepare Your Design for the Koozies
First, you’ll need to plan your koozie design. Be sure to brainstorm and sketch it out on paper before you start. It is at this point you’ll have to decide if you use a stencil or freehand painting – should your design feature very small details, stencils might be the smart way to go. If a stencil ends up being the plan, remember to cut it out beforehand.
This design phase allows you to plan and visualize the final look of your koozies before you start applying the actual paint or ink.
Clean the Koozies
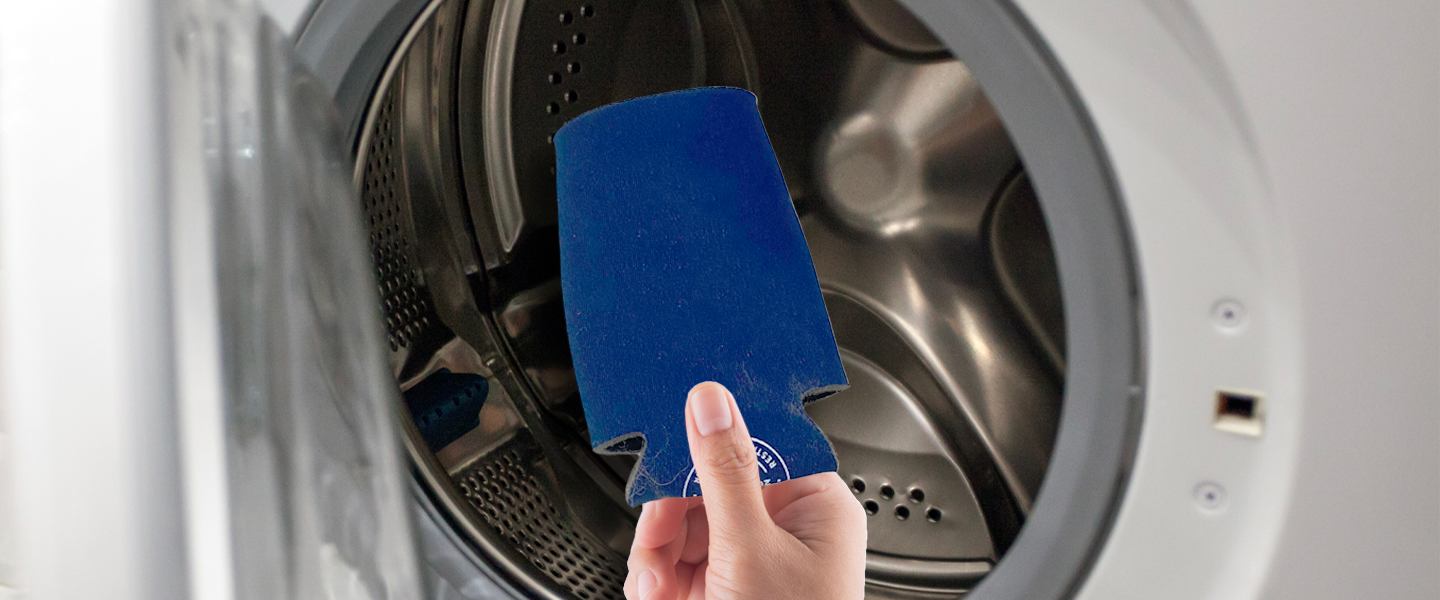
Ensure that your koozies are clean and free from any dirt or dust. Start by inspecting them and gently wiping them with a damp cloth or sponge. Make sure they are completely dry before proceeding with painting or printing to ensure a firm adhesion of the paint to the koozie material.
Apply Paint/Ink
Use a paintbrush or stamp to apply your chosen fabric paint or ink to the koozie. If using a stencil, place it on the koozie and then apply the paint. Be careful not to apply too much paint to avoid smudging or bleeding. The goal is to create a clean and vibrant design on the koozies.
Let it Dry
After applying the design and removing any stencils, allow the koozies to air dry in a clean, dust-free area. Follow the recommended drying time specified on the paint or ink product label, typically a few hours to overnight. It is essential to ensure they are completely dry before moving on to the next step, as this helps maintain the design’s clarity and integrity.
Set the Design
Once the paint is dry, you’ll need to set it to make it permanent. This can typically heat pressed with an iron or even a heat gun. Remember to follow the instructions on the ink or paint for the recommended heat and time settings – as overheating can damage the koozie material.
Remove Stencil
If you’ve used a stencil to create your design, removing it is a straightforward step. Once you’ve applied the paint or ink and allowed it to set according to the product instructions, carefully lift and peel off the stencil from the koozie. Be gentle to avoid smudging or damaging the painted design underneath.
Final Touches
Check your koozie for any touch-ups or additional details you want to add! You can use a fine paintbrush for small details.
Allow it to Cure
After setting the paint, allow your koozies to cure for at least 24 hours. This is to ensure the design remains intact and doesn’t smudge when touched.
And voila! Your DIY koozie is ready to use. Go ahead and slip that cold can of beer into the koozie and enjoy your chilled drink. You’ve earned it.
Reasons Why You Need Custom Koozies
Custom koozies serve various practical and personal purposes. They are great for keeping beverages cold while offering a comfortable grip on your cans or bottles. More than this, a good koozie helps you express your particular, unique style – personalized koozies are made for this. They can also serve as memorable party favors or promotional items, featuring logos, slogans or event details.
They do it all! By combining functionality with a fun way to express your interests and style, custom koozies have demonstrated themselves to be a must have accessory for everyone!