Printing koozies at home can indeed be a fun and creative DIY project. While not overly popular, it is certainly doable with the right materials.
Here are the steps to go about printing your koozies at home:
Some Materials You’ll Need for Your Koozies
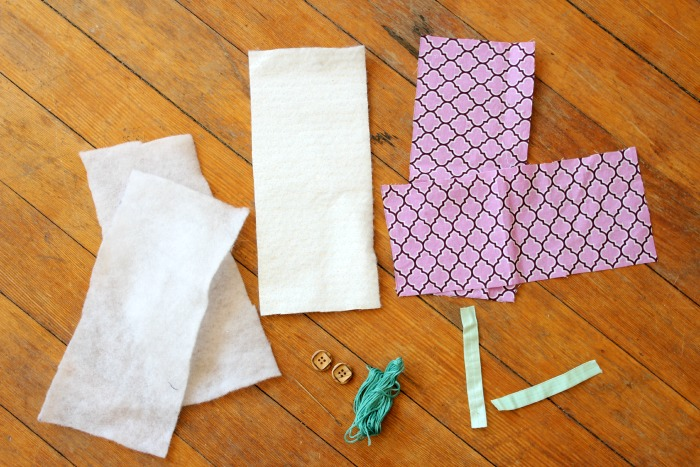
Here are some materials you will need to get started:
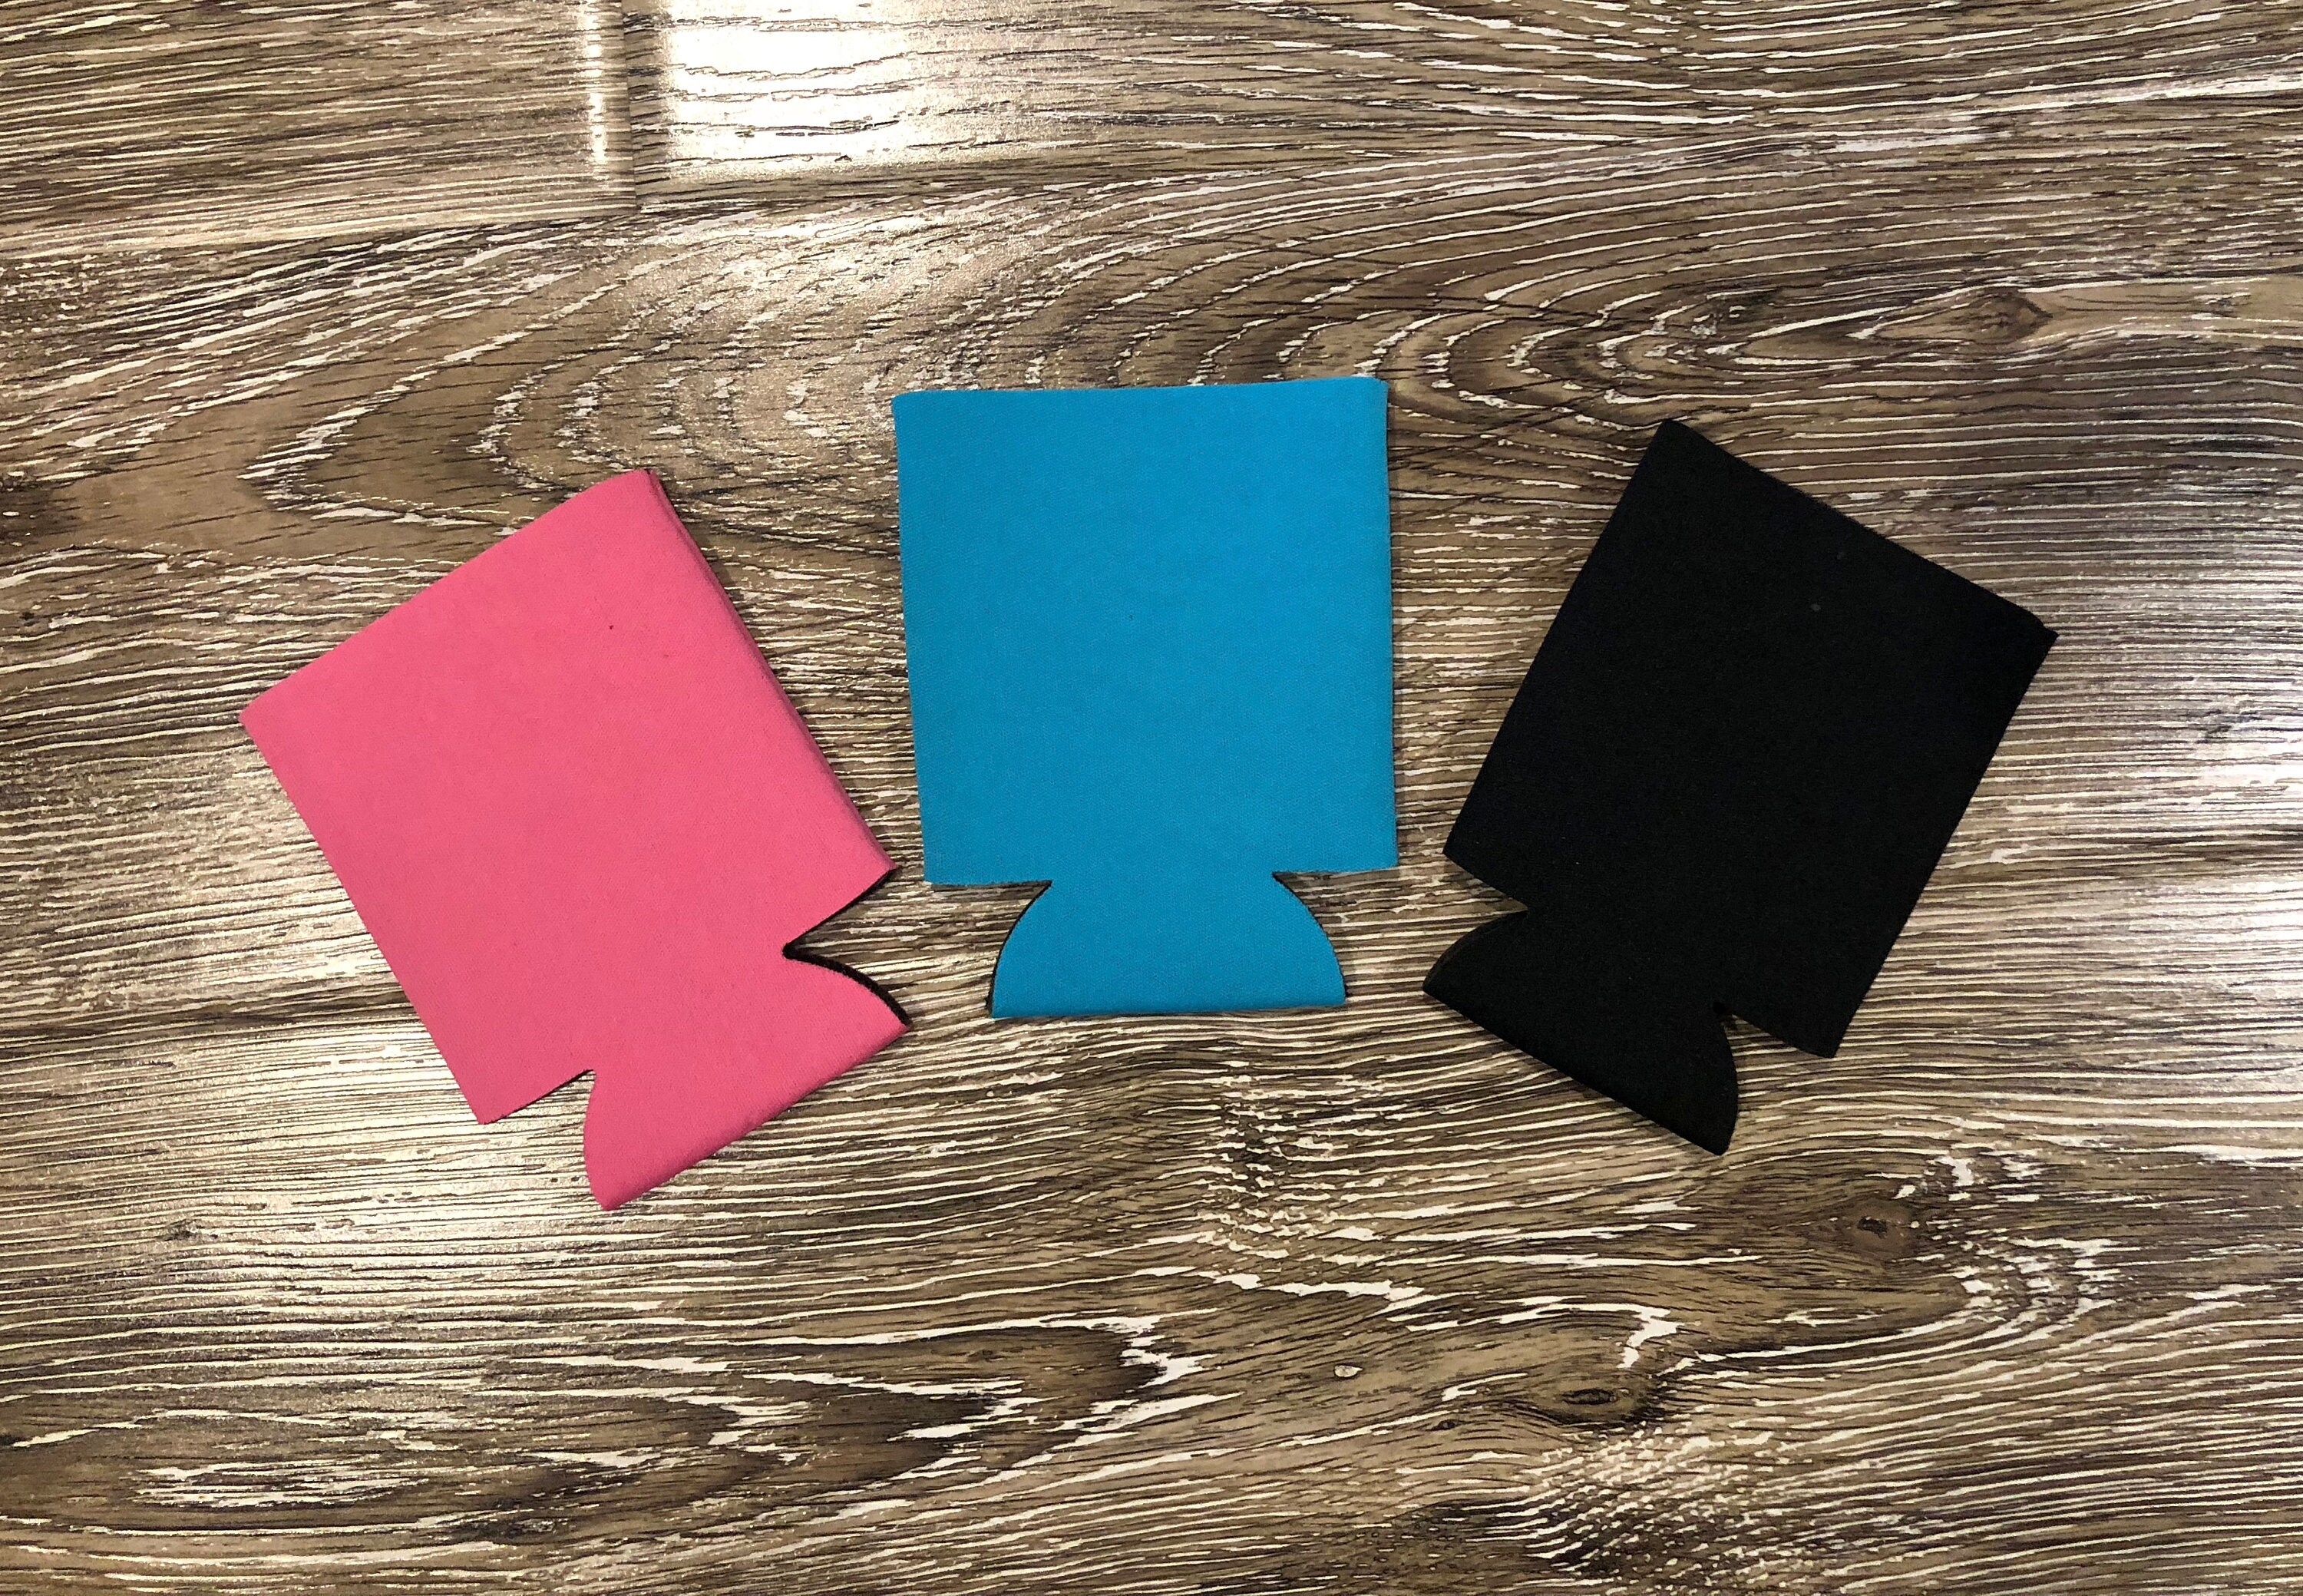
Blank Koozies
You can purchase blank koozies online or at any craft store. They typically come in various colors and materials, so be sure to choose wisely. It is important to remember that the koozie material matters when it comes to picking the right koozie for your project.
Fabric Paint or Fabric Markers
You can use fabric paint or fabric markers to create your design. Fabric paint is more durable and will last longer, but fabric markers are easier to use.
Stencil (Optional)
If you want to create a more complex design, consider using a stencil. You can either buy pre-made stencils or create your own.
Paintbrushes
If you’re using fabric paint, you’ll need paintbrushes to apply the paint to the koozie.
Masking Tape or Painter’s Tape
If you’re using stencils, you’ll need masking tape or painter’s tape to secure the stencil in place.
Paper or Cardboard
Place this inside the koozie to prevent the paint or markers from bleeding through to the other side.
Steps to Print Koozies at Home
Now you’re ready to begin! Here are the steps to designing solid DIY koozies:
Design Your Koozies
Before applying any paint, sketch your desired design on a piece of paper to get a clear idea of how you want it to look. If you’re using a stencil, place it securely on the koozie and fill in the stencil shapes. If you’re free-handing your design, use a pencil lightly to draw the design directly onto the koozie’s surface.
Prepare Your Workspace
Lay down a protective surface – such as newspaper or a plastic tablecloth – to catch any paint or marker spills. Also ensure that you’re working in a well-ventilated space to disperse any fumes generated by the paint or markers.
Having a clutter-free and organized workspace with all your materials within reach will help you stay focused and make the process more enjoyable. Additionally, keep cleaning supplies like paper towels for quick cleanup in case of any accidental spills or smudges.
Insert Paper/Cardboard
Place a piece of paper or cardboard inside the koozie before applying paint or markers. This serves two important purposes: it provides a stable surface to work on and acts as a barrier to prevent paint or markers from bleeding through. It’s a crucial step to maintain the integrity of your koozie and ensure your design looks its best.
Apply Paint or Marker
Use fabric paint or markers to fill in your design. Be careful not to use too much paint or marker, as this can cause bleeding. If you make a mistake, you may need to let it dry and then touch it up.
Alternatively, if you’re using fabric markers, simply color in the design you’ve sketched on the koozie. Take your time to ensure even coverage, and let the paint or markers dry completely before moving on to the next steps.
Let it Dry
Allow the paint or marker to dry completely. This may take several hours, depending on the type of paint or marker you’re using.
During this time, avoid touching or smudging the design, as this could ruin your hard work. Ensure the koozie is placed in a dust-free area to maintain the quality of the finished product. Patience is key in this step, as rushing through it may result in a less durable and less vibrant design.
Heat Set
If you’re using fabric paint, you’ll typically need to heat set it to make it washable and more durable. (This is especially important for heat pressed designs.) Follow the instructions on the paint label for heat setting, which often involves ironing the design with a cloth over it.
This process of the heat press essentially “seals” the paint onto the koozie fabric, ensuring it won’t easily wash or rub off. Skipping this step with fabric paint could result in the design fading or peeling over time. This is why it is a crucial final touch to enhance the longevity of your custom-printed koozie.
Remove Stencil (if used)
Once the paint or marker has completely dried and set, carefully peel away the stencil from the koozie’s surface. Be gentle to avoid smudging or smearing the design. Removing the stencil reveals your crisp and precise design beneath it.
If there are any imperfections or rough edges left by the stencil, you can touch them up with additional paint or marker to ensure your custom koozie looks clean and professional. This step is the culmination of your hard work and allows you to admire the final result of your DIY project.
Final Touches
Check your koozie for any imperfections or touch-ups that may be needed. Examine the design closely to check for uneven coloring, smudges or any mistakes. If you spot any issues, use the appropriate paint or marker to touch up those areas. This ensures that your design looks polished and flawless.
Taking the time to make these final adjustments can greatly enhance the overall quality of your koozie and make it ready for use or gifting.
Enjoy Your Koozies
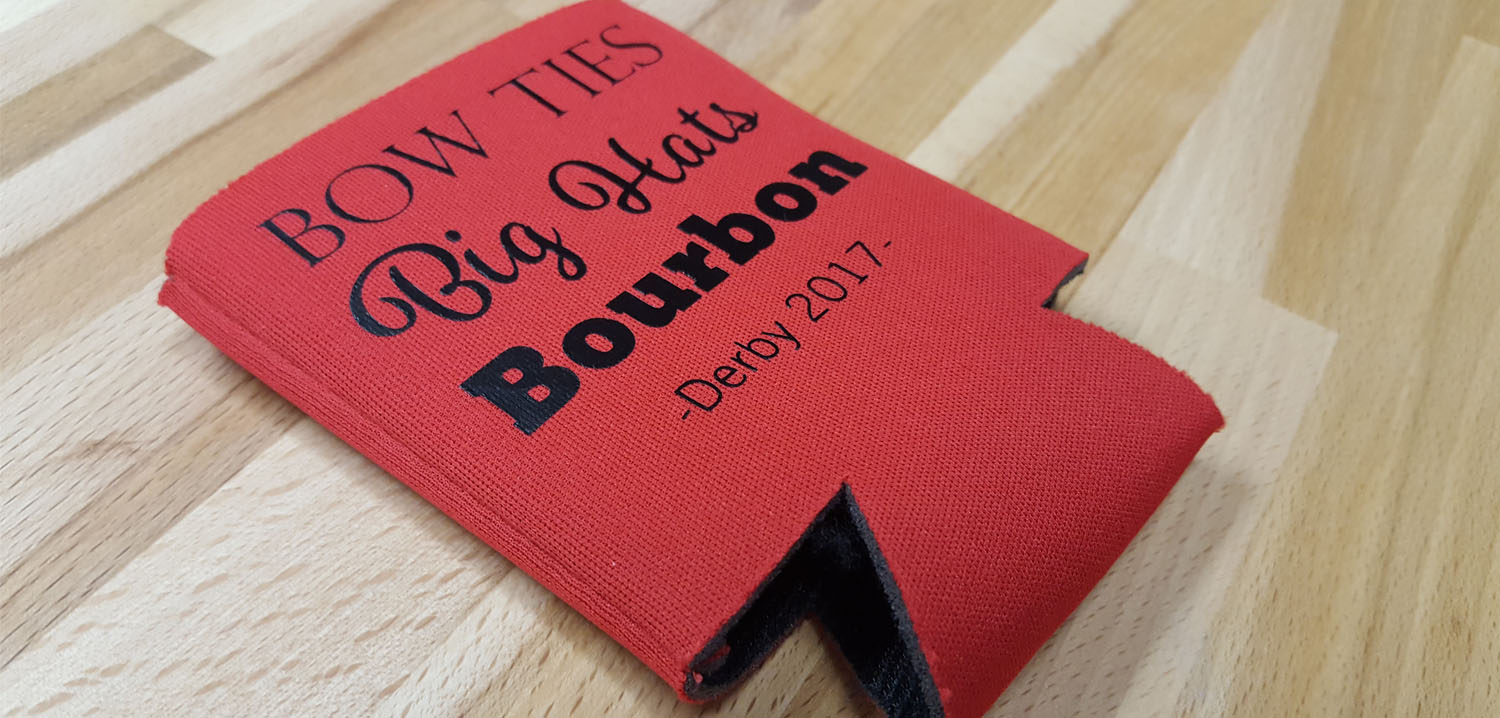
Voila! Your custom-printed koozie is now ready to use! Slide it onto your beverage container of choice, whether it’s a can or a bottle, and you’re good to go!
Whether you created the koozie for personal use or for a special event, this step is all about relishing the fruits of your creative labor. All while keeping your beverage cool and your hands dry!
Remember, of course, that practice makes perfect. So don’t be discouraged if your first attempt isn’t perfect. Experiment with different designs and techniques to improve your koozie printing skills!
Where to Buy Your Custom Koozies
Perhaps you find the prospect of designing a DIY koozie daunting and want to purchase one instead. Not to worry! Print shops and online retailers typically have a vast collection of personalized koozies available for the less craft-minded among us. These are can koozies that have been designed with methods ranging from screen printing to heat transfer vinyl and embroidery – all to mostly spectacular effect.
Be sure to check out their collection of custom koozies and pick out the ones that speak best to your taste. Happy looking!